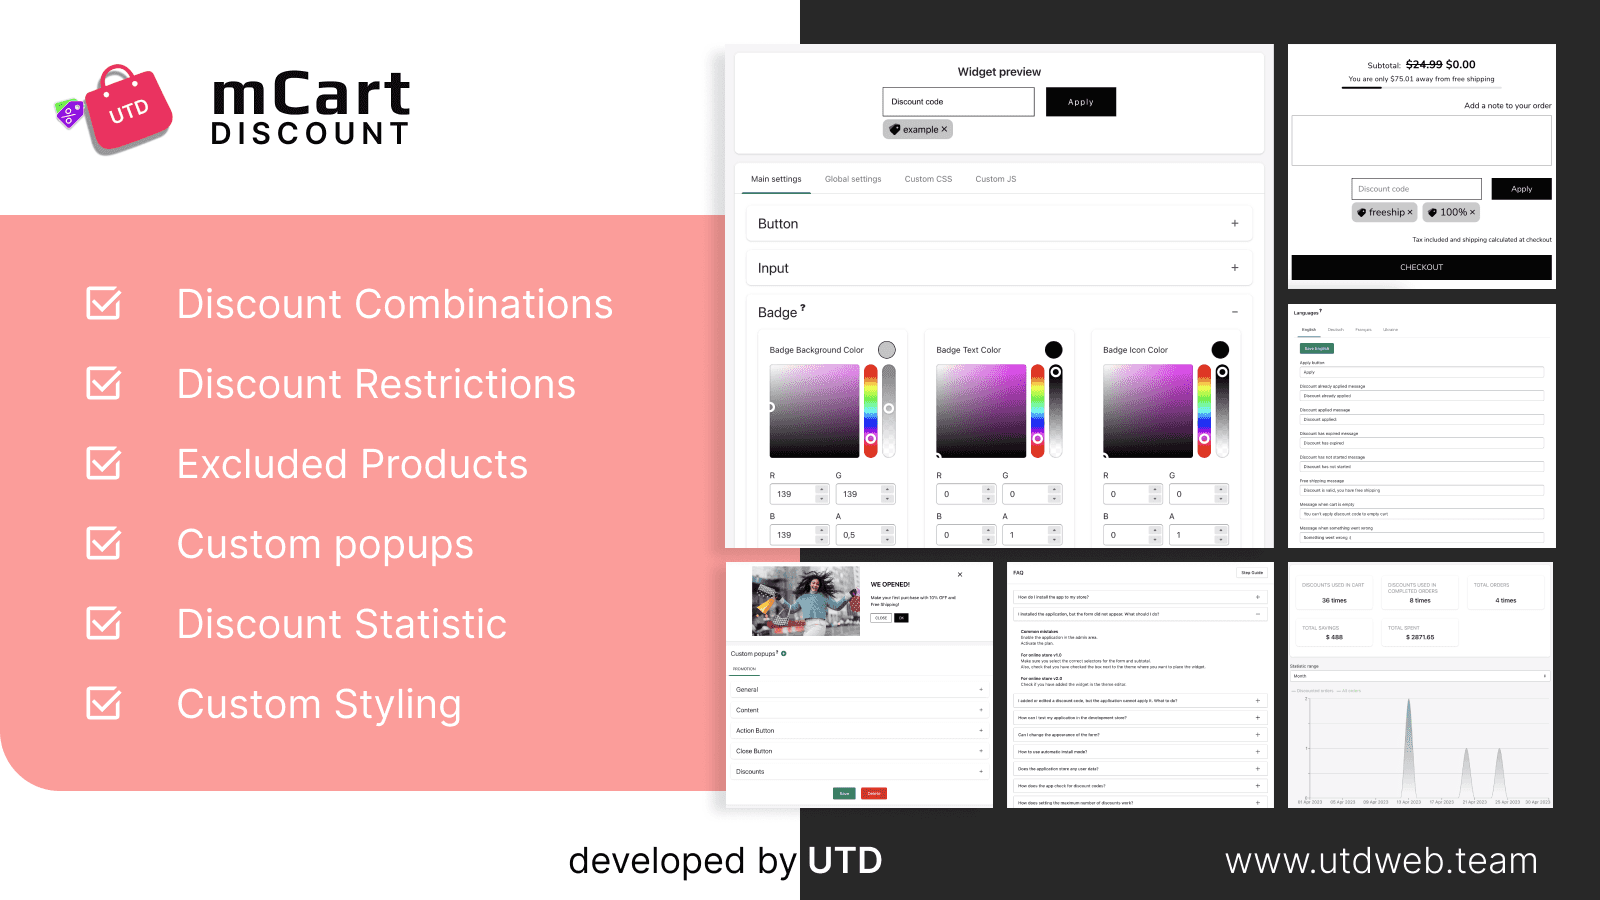
Provides the ability for users to apply the discount code in the drawer cart, popup, and stack it.
Applying a discount code to your shopping cart is critical to boosting your sales rate and good customer service. Our application provides the ability for users to apply the discount code in the shopping cart and combine discount codes. Now the user can enter several discount codes and apply them to one cart, the discount amount will be summed up, and the user does not even need to go to checkout to apply the discount code! Features: Restriction, Excluded, Statistic, Popup, Customizer, etc.
We recommend you to check out our Privacy Policy and the Manual for our app, and below you can find our FAQs
Demo
See how the app works using the example of a store:
- Go to the test store Link: https://utd-discount-cart-minicart.myshopify.com/ Password: discount
- Add some items to your cart
- Open the shopping cart and enter one or more promotional codes: DOLLARSOFF, DISCOUNT21, 10PERCENTOFF
- See how it works, go to checkout.
Installation guide
Video Tutorials:
The installation process consists of choosing a theme where you want to display the application and selecting HTML elements on the page where you want to add your application.
- Activation.
The first thing to do is activate the application.
In order to subscribe to the app, you need to go to the “Main” page using the “General” button in the menu.
Click on the “Activate” button. - Open subscription modal.
After activation, you need to pay for the application.
You will see the “See your plan” button – click on it. - Choose your plan.
In the modal window that opens, you will see a list of available plans with a description.
Choose the plan that suits you and click on the “Select” button.
After that, you will be redirected to the payment page. - Application payment.
On this page, you need to fill in your bank details and click on the “Approve” button.
After that, you will be redirected back to the application. - Choose your Shopify version.
You need to select the version of your Shopify Store.
If your theme has all the .json templates, then it’s Shopify 2.0. If your theme has .liquid templates, then this is Shopify 1.0.
We, and the Shopify developers, recommend using Shopify 2.0 themes. - Now we need to place the application widget in the store. To do this, we have provided several ways.
The first way to add a widget to your store is available only for Shopify Store 2.0:
To add a widget with a discount, you need to go to your theme customizer.
Choose a cart template. Then click “Add block” or “Add section”.
In the menu that appears, select “mCart – Multi discount”.
Save customizer settings.
As a result, you will see the widget in your cart.
Then click the “Save” button to save the settings.
Congratulations – you have successfully installed the widget in your store!
The second way to add a widget to your store is available for both versions of the Shopify Store (don’t worry, it works just as well on both versions):
In “General” choose “Your store version” as 1.0 (because this option is visible only with the 1.0 selected theme version, even if your theme is 2.0 – don’t worry if you chose 1.0, it will work tho).
Note: Make sure that your theme does not include a block or section with our app. (What you did in the “First way”).
Next, you have to click on the “Install application” button.
For the cart in a drawer, click “Install to minicart” and follow the steps in “Current theme”.
For a standard cart, click “Install to cart page” and proceed to your store’s cart.
Follow the first step instructions.
Follow the second step instructions.
Congratulations – you have successfully installed the widget in your store.
To learn more about the app’s functionality, scroll down to the FAQ section.
The third way:
If for some reason you did not manage to do the first 2 ways, then install the application manually by placing <div id=»multi-discounts-form»></div> in your cart page or minicart, and the application is automatically integrated into this element.
Or specify the DOM element selector where you want to place the widget.
For example:
You want to place the widget in the <div id=”some-element”> </div>
On the Selectors page in the first input specify: #some-element
Or if you want place discount widget in several places, then specify the items separated by commas.
For example #some-element, .minicart_some-element
Note: You also need to specify the ID or class of the element where the final cost of the order is displayed. This is necessary to display the final cost of the order.
To do this, in the application control panel, go to the ‘subtotal selectors’ tab and list the IDs or element classes.
The final cost of the order is displayed in the item: <span id=”cart_subtotal”>22.55 </span>
In the ‘subtotal selectors’ field, specify: #cart_subtotal
Or if your final price is displayed in several places, then specify the items separated by commas.
For example: #cart_subtotal, .minicart_subtotal
If you have any difficulties installing the application, please contact us.
Now your app is ready to use. To customize the app widget You can go to ‘custom css’ and ‘custom js’.
Uninstallation guide
To uninstall an application simply go to the list of applications in the store and click the ‘uninstall’ button.
Our app does not leave any traces in the store.
If you added the <div id=”multi-discounts-form”> </div> element to your store then remove it.


